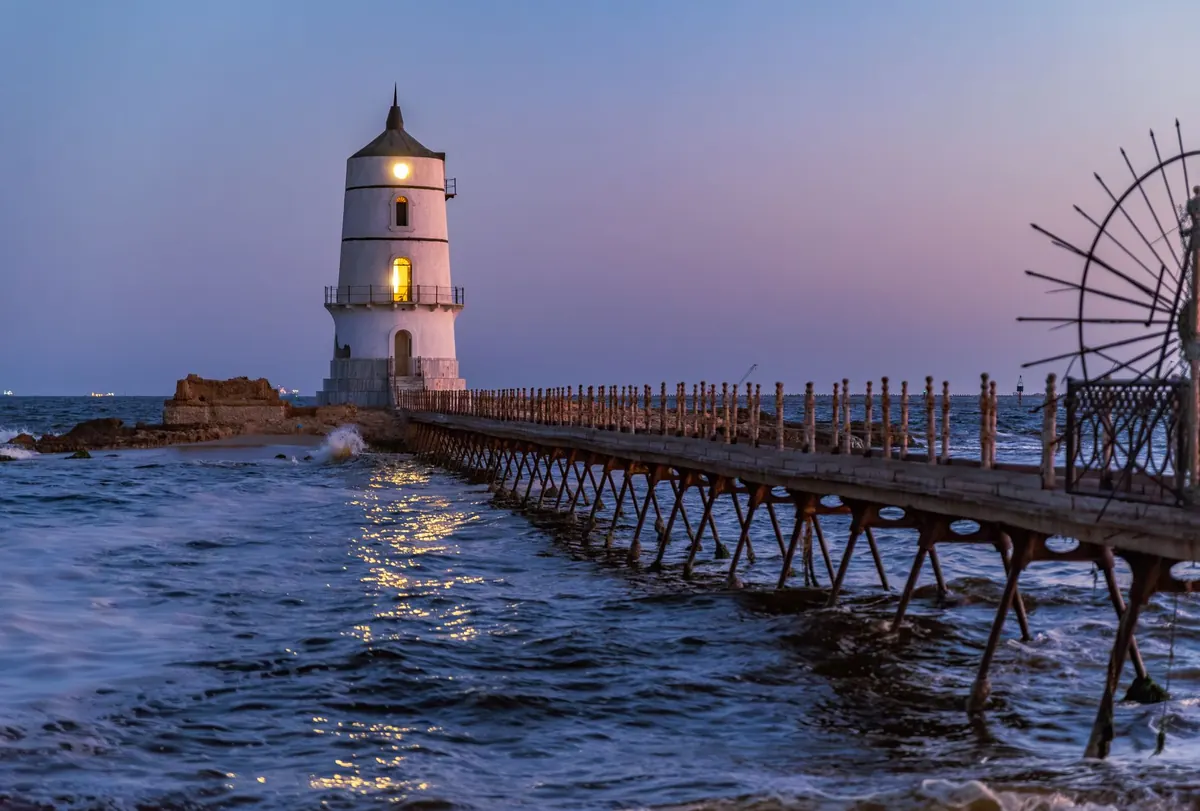
Blue hour lasts a matter of minutes, and a lighthouse is one of the few subjects that genuinely needs it. The sky still holds colour, the lamp is already turning, and for a short window the two light sources balance each other instead of one bullying the other out of the frame. Get the timing and the exposure right and the picture looks like the place felt when you stood there. Get them wrong and you have either a black silhouette against a bright sky or a blown-out lantern room on a black background.
What follows is the working method: when to show up, how to set the camera, how long to hold the shutter, and where to stand.
What Blue Hour Actually Gives You
The useful light begins roughly fifteen minutes after sunset and runs for perhaps twenty to forty minutes, depending on latitude and season. Before sunrise the sequence reverses. What matters is not the clock but the relationship between two brightness levels: the sky, which is fading but still blue, and the lamp, which is now brighter than everything around it.
The blue is rarely uniform. Look away from the sunset and you often get a smooth deep blue; look toward it and the horizon carries pink, apricot, or a thin band of orange. That gradient is the backdrop for your tower, so notice which direction has the more interesting sky before you commit to a position. Clear evenings give a clean, almost graphic gradient. Broken cloud is usually better, because it holds colour and gives the sky some texture.
Timing: Plan Around the Sun, Not the Clock
Arrive an hour before sunset. Not to shoot, but to walk. You want to know where the access path is, where the rocks are wet, and which side of the tower the beam sweeps toward. Most lighthouses have one obvious postcard angle from the car park and two or three better ones a few hundred metres away.
Two pieces of information change everything: sun position and tide. A sun-position app tells you exactly where the light will disappear and when civil twilight ends. A tide table tells you whether the rock ledge in front of the tower will be under water. Many lighthouse shots depend on being able to stand somewhere that only exists for two hours a day.
A simple field timeline
- 60 minutes before sunset: arrive, scout, check access and tide, decide on two positions.
- At sunset: set up. The light is warm and low — shoot a few frames, but this is not the main event.
- 10 to 15 minutes after sunset: the blue hour begins. Start the serious exposures.
- 30 to 40 minutes after sunset: the sky darkens, the lamp dominates, contrast rises. Keep going; this is the moody part.
- 60 minutes after: you are into full night. Either switch to star trails or pack up while you can still see your feet on the rocks.
Camera Settings That Work at Twilight
Use a tripod. This is not a flexible rule. Twilight exposures run from about half a second to half a minute, and there is no handheld trick that replaces a locked-off camera. Turn stabilisation off when the camera is on the tripod, hang a bag from the hook, avoid extending the centre column, and use a two-second delay or a remote release.
Start at ISO 100 or 200, aperture between f/8 and f/11, and let the shutter speed fall where it needs to. On most lenses that aperture range is the sharpest and gives you enough depth of field for both the foreground rocks and the tower. Go beyond f/16 only if you genuinely need the depth; diffraction softens the whole frame.
Expose for the sky and check the histogram. You want the blues sitting comfortably in the middle, not crushed against the left edge. Shoot raw and set white balance to daylight, around 5000 to 5500K — the camera's auto white balance will try to neutralise the blue and leave you with a grey evening.
A starting point
- Mode: aperture priority or manual, ISO 100–400
- Aperture: f/8 (wide lenses) to f/11 (standard and telephoto)
- Shutter: 2–30 seconds, depending on how dark the sky has become
- White balance: daylight, 5000–5500K
- File format: raw, so you can recover the sky and lift the tower later
- Focus: autofocus on the tower, then switch to manual and tape the ring, or focus manually at magnified live view
The sky decides your exposure. The lamp decides your shutter speed. Those are two different decisions, and it helps to make them separately.
Long Exposures and the Turning Lamp
Shutter speed is your creative control here, because it changes what the beam looks like. A one- to four-second exposure catches a single flash: a distinct bar of light leaving the lantern. Eight to fifteen seconds draws one or two beams as soft fans arcing across the sky. Past thirty seconds the sweeps start to overlap and the lamp becomes a glowing disc with a halo.
Time the rotation. Count the seconds between flashes and use that interval to decide your exposure. If the beam passes every twelve seconds, a twelve-second exposure gives you one clean sweep; twenty-four gives you two.
The same number governs the water. Under a second, waves keep their texture and spray. Two to eight seconds turns surf into something smooth and painterly. Fifteen seconds or more and a calm sea goes glassy, which suits a lighthouse on a still evening and looks wrong in a gale. If twilight is still bright and you want a long exposure, a three- or six-stop neutral density filter buys you the time.
Composition: Where to Stand and What to Include
The instinct is to centre the tower and split the frame with the horizon. Resist both. Place the lighthouse off-centre, on a third, and give the beam room to travel into. If the light sweeps left, leave space on the left; a beam that exits the frame immediately feels cramped.
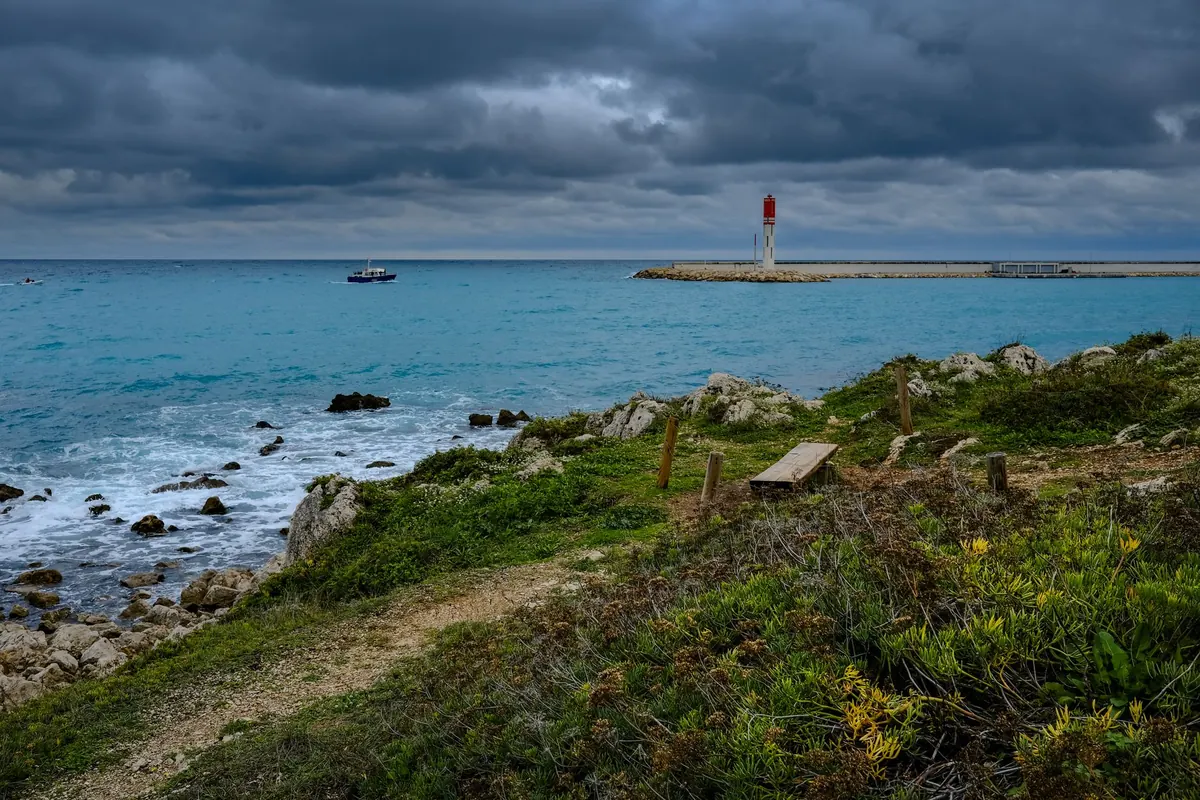
The horizon line is a decision, not an accident. Put it low if the sky is doing something worth two-thirds of the frame, which at blue hour is often true. Put it high if the foreground is the interesting part: wet sand reflecting blue, rock pools, a curve of path, a line of fence posts leading in.
Details worth trying
- Foreground anchors: boulders, mooring rings, wildflowers, a slipway, spray on the rocks.
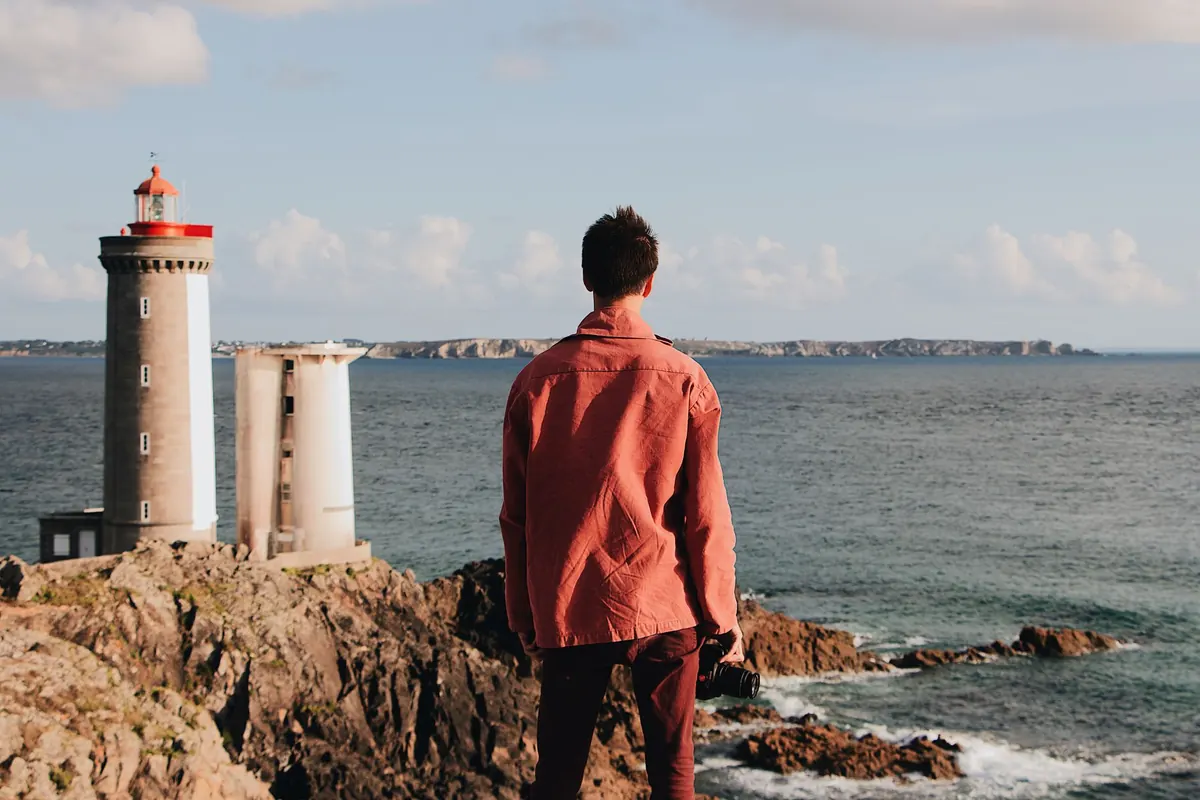
- Scale: a person, a boat, or a gull makes the tower read as tall rather than merely large.
- Focal length: 24–35mm for the setting, 70–200mm to compress the tower against the sky and pull a distant moon or a bank of cloud closer.
- Secondary elements: the keeper's cottage, the cliff path, a fading sign, the railing — anything that says where this is.
- Edges: check all four corners before you fire. A half-cut fence post or a stranger's shoulder ruins an otherwise good frame.
Get low. Kneeling or lying on wet rock changes the perspective more than any lens swap, and near the waterline you pick up reflections that double the tower.
A Field Routine That Fits in One Hand
Scout first, set up second, and shoot through the whole transition rather than in bursts around the pretty moments. Take the wide establishing frame, then the tighter one, then a detail. Stay ten minutes longer than feels sensible; the sky often deepens just as everyone else heads for the car. Wipe the front element whenever you change position — salt spray is invisible until you see the flare on the back of the screen. Carry a cloth, a small torch for the walk back, and proper footwear for wet rock, and tell someone where you are going if the access is remote. Then put the camera away and watch the beam turn for a minute, because that is the part you came for.
Photo: bassel zaki / Pexels