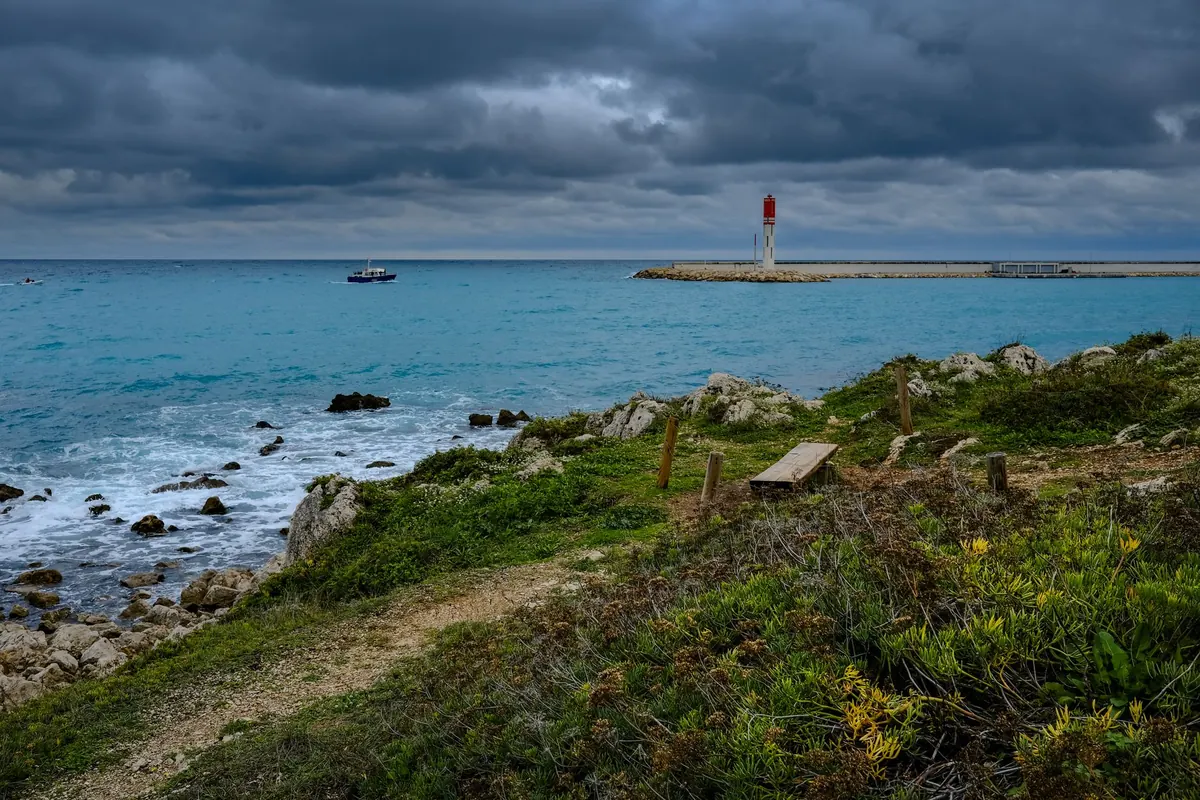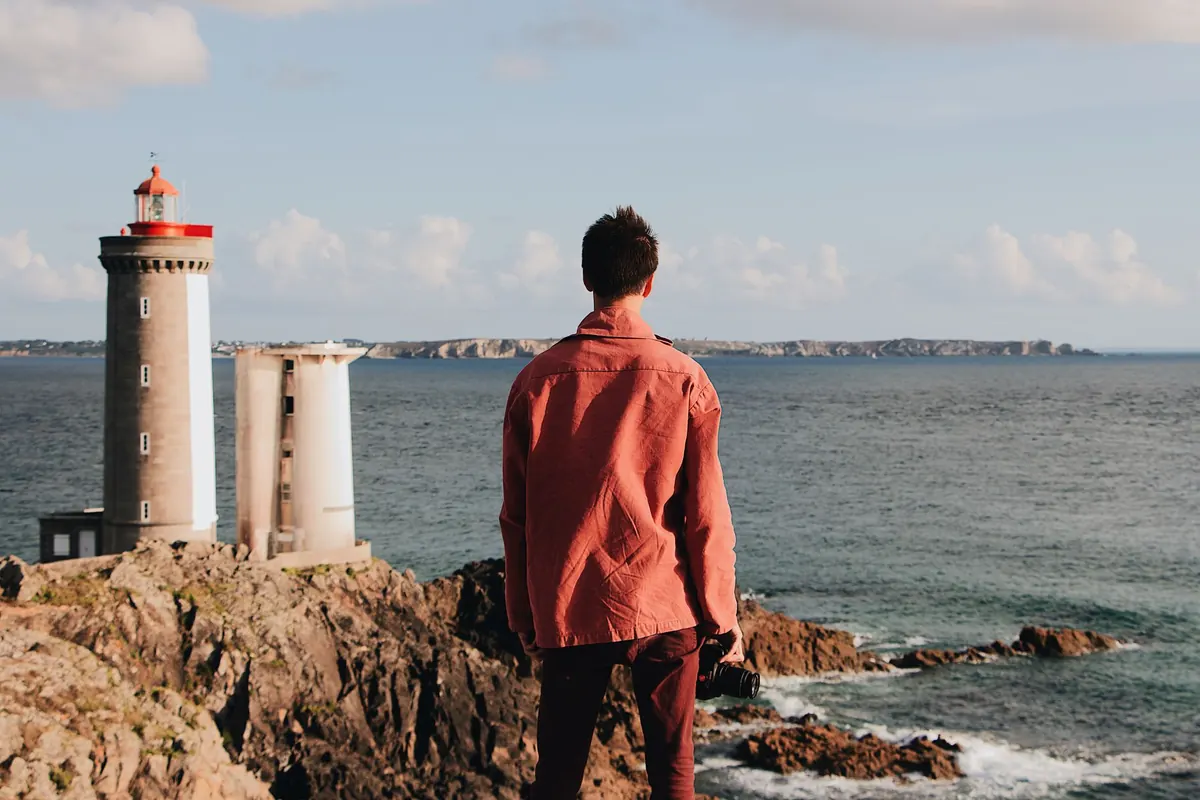
The wind is doing its best to remove your hat, sea spray has already found the front element, and the lighthouse is standing in exactly the late-afternoon light you drove two hours to catch. A tripod would be lovely. It is also in the boot of the car, half a kilometre back along the cliff path. So you shoot handheld, and the first frame is a soft, tilted disappointment.
That gap between what you saw and what the camera recorded is almost always fixable. Handheld lighthouse photography is not a compromise you settle for. It is a set of habits: how you stand, how you breathe, which settings you trust, and knowing when to stop fighting the conditions and lean on a wall instead.
Why handheld works better than you expect
Lighthouses are unusually friendly subjects for shooting without support. They are big, bright and usually surrounded by reflective water and open sky, which means plenty of light and fast shutter speeds. Modern sensors hold up well at moderate ISO settings, and the stabilisation built into most cameras and phones buys you two or three stops of breathing room.
Handheld also gives you something a tripod quietly takes away: speed. Coastal light shifts by the minute, waves break in sets, and the best vantage point is often three steps to the left of the one you planned. Being free to move is worth more than a marginally sharper frame.
Be honest about the limits, though. A dark lamp room interior, a long exposure that smooths the sea into milk, or a night shot of the beam sweeping across the water all want support. For those, improvise: rest the camera on a folded jacket on a wall, press it against a rock, or use the timer and set the phone face down on a flat surface. Stability does not have to mean three legs.
Build a stable stance before you touch the camera
Most blurry handheld shots come from the body, not the gear. Fix the body first.
Feet, elbows, breath
Stand with your feet roughly shoulder-width apart, one slightly forward, weight on the front foot. Tuck both elbows into your ribs rather than letting them flare out like wings. If your camera has a viewfinder, use it — pressing the camera to your brow adds a third contact point and removes the wobble that comes from holding it out at arm's length. Phone shooters should use two hands, elbows tucked, and the side volume button as a shutter release, which causes less movement than jabbing the screen.
Then breathe. Take a normal breath in, let about half of it out, hold, and squeeze the shutter with the pad of your finger. Do not stab at it. Fire a burst of three frames rather than one; the second and third are often sharper than the first because your finger has stopped moving.
Borrow structure from the landscape
Lean your shoulder into a wall, a rock face or a fence post. Lean yourself, not the camera — pressing the camera directly against a hard surface transmits vibration. A railing is a trap: it feels solid but hums in the wind, and your photos will show it. If the wind is strong, turn your back to it and let your body shield the lens. Kneel or sit if the ground is dry, which lowers your centre of gravity and usually improves the composition too.
Shutter speed is your real tripod
If you take one thing from this guide, take this: protect the shutter speed and let ISO fall where it may. A slightly noisy sharp photograph beats a clean blurry one every time. As a rough starting point, use at least 1/250 second for a static tower at a normal focal length, and double that in wind or when you are shooting long.
- Static tower, wide to normal lens: 1/250 second, ISO 100–400.
- Waves breaking at the base: 1/500 to 1/1000 to freeze the spray.
- Telephoto detail of the lamp room or gallery rail: 1/500 or faster.
- Dusk, beam just visible: 1/60 with stabilisation on, braced against something solid, and accept a slightly softer result.
Set your camera to Auto ISO with a minimum shutter speed of 1/250 and it will handle most of this for you. On a phone, the same logic applies in reverse: tap the tower, then drag the exposure slider down a touch. Whites blow out fast, and a lighthouse is mostly white.
Phone settings that actually matter
- Turn the grid on. Lighthouses sit on horizons, and horizons are never straight when you are standing on a slope in the wind.
- Tap and hold to lock focus and exposure. If foreground grass or a passing gull keeps stealing focus, locking solves it in one gesture.
- Pull the exposure down. Tap the white tower, then slide down a third to a full stop so the paint keeps its texture instead of clipping to flat white.
- Stay on the main lens. Digital zoom on a phone is mostly wishful thinking. Walk closer, or crop later from a clean file.
- Use burst for waves. Hold the shutter button rather than tapping it and you will catch the spray at its peak.
- Brace for night mode. It needs a second or two of stillness. Rest the phone on a wall, set a three-second timer, and let go of it entirely.
- Wipe the lens. Salt and sunscreen haze on the front glass is the single most common cause of soft phone photos at the coast. Use a clean cotton shirt, not your thumb.
Camera settings that keep you sharp
Use aperture-priority or manual mode at f/5.6 to f/8 — the sweet spot for most lenses and enough depth of field to keep a whole tower crisp. Switch to continuous autofocus and continuous drive if there is any movement in the frame. Shoot RAW if you can; recovering a bright white tower against a bright sky needs the extra headroom.
Watch the histogram rather than the back screen. A lighthouse scene has a narrow tonal range and the camera will happily expose for the sky, leaving the tower dull grey. Dial in minus one-third to minus one stop of exposure compensation and check that the white paint is not blinking with highlight warnings.
Focus on the tower, not the horizon, using a single focus point placed on the structure. And keep a spare battery in an inside pocket in cold weather; coastal wind drains them faster than you expect.
Composition and light when you cannot wait
Walk. Before you shoot, move a hundred metres along the shore and look again. The shape of a lighthouse changes completely depending on whether you see it side-on, silhouetted, or with the headland behind it. Put the tower off-centre and give it room to breathe, and find a foreground — a fence line, wet rocks, wildflowers, a path — to give the eye somewhere to start.
Light matters more than any setting. The hour after sunrise and the hour before sunset give warm side light that reveals the texture of stone and paint. Harsh midday sun flattens a white tower into a flat shape, though a break in heavy cloud can rescue almost anything. Wait for a person or a boat to pass through the frame for scale, and give yourself permission to shoot nothing at all if the light refuses to cooperate.
A simple handheld routine in the field
Arrive. Look before you lift the camera. Set 1/500 second, f/8, Auto ISO. Take one test frame, check the histogram, adjust the exposure. Then find your brace point, plant your feet, breathe out halfway, and fire three frames. Review, then move two steps and do it again.
Practise the same sequence on a lamp post or a church tower near home on a windy day. By the time you are standing on a cliff with spray on the lens and five minutes of good light left, the stance and the settings will be muscle memory — and the tripod can stay in the car.
Photo: Maël BALLAND / Pexels